It’s a breezy day in Victoria and damp enough to keep me away from the lawnmower again this morning. Soon, all will be jungle.
I spent last weekend baking cakes instead of mowing my lawn. Here’s what I learned:
Angel food cake is just 4 things: egg whites, sugar, flour and acid (cream of tartar), plus flavourings (salt, vanilla). The acid stabilizes the egg whites once they are beaten. We also added lemon zest and a little lemon juice (which adds both flavour and more stability). We were told never to use non-stick pans, and to mist (with water) rather than oil the pans so that the fragile batter had something to cling to as it rose. It also needs walls to hang onto, hence the use of tube pans. And when we cooled it (for a minimum of 3 hours) we did so upside-down to allow gravity to help the cake stay tall. The steam trapped inside the pan during cooling helps to loosen the cake when it’s time to take it out.

After that it kept brilliantly and was lovely and light 3 days later when I served it with some awful organic California strawberries and cream (the things I do for food knowledge).
(Actually: I will not be buying California strawberries again as I’ve just watched Forever Plastic and seen how non-recyclable is plastic clamshell packaging)
Then we made two more cakes (chocolate and butter)
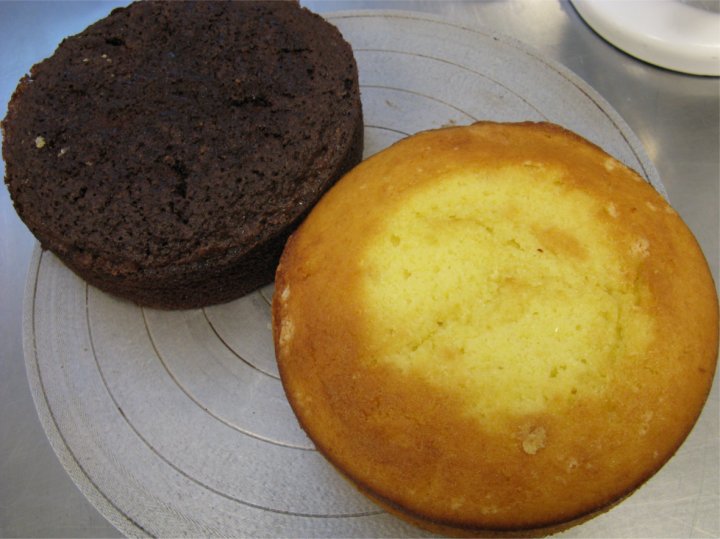
and learned a bit about butter cakes: the importance of making your butter/sugar mix fluffy before you start throwing eggs into it; the abrasive effect of sugar on butter which helps to cream it; and the importance of smoothing the batter before you put it in the oven. We learned three tests to determine whether a cake was done: feel (does it spring back when touched); stability (if it looks wobbly it’s not done); edges (are they pulling away from the pan’s sides?). And we inverted the cake pans (propped up so the tops weren’t touching anything) to keep the filling light while cooling.
We then chilled our cakes and on day 2 we cut them (not to be attempted when they’re fresh from the oven). First we put the cake on a rotating cake stand and marked two evenly spaced lines with our knives; then we lightly circled round cutting about an inch in, to make sure the first cut was even; then we circled round again and severed the first round. Then we repeated and separated the three layers. We kept the bottom layer as the bottom and, depending on how bulgy the top was, might flip it over to make for a flat top in the finished product.

We had made some simple syrup and some orange curd for use in our frosting exercises.

We brushed all three layers of the cakes with simple syrup, to keep them moist. Then we spread the curd on two of the layers. If it was too soft (we’d made it with gelatine but some batches were softer than others) we piped some butter cream icing to make a dam

to keep it from drooling over the edges like this
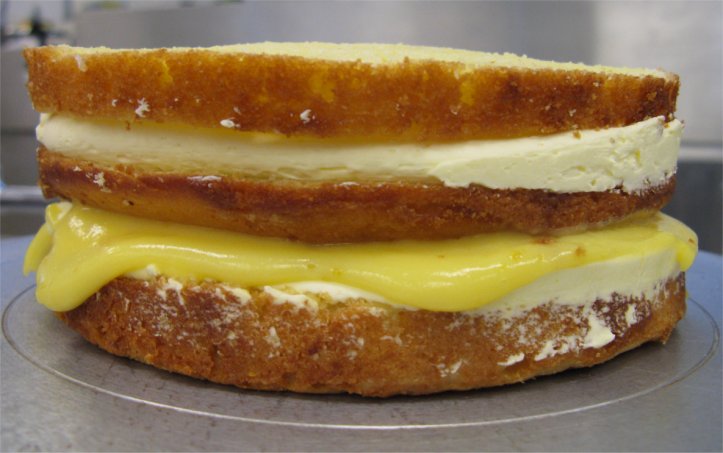
and then refrigerated it so everything could firm up. Then we took it out and applied a thin layer, the “crumb coat,” and put it back to chill some more before the final decorating. Cakes can be frozen at this stage.

We passed the time learning to pipe flowers

and comb icing round the sides.

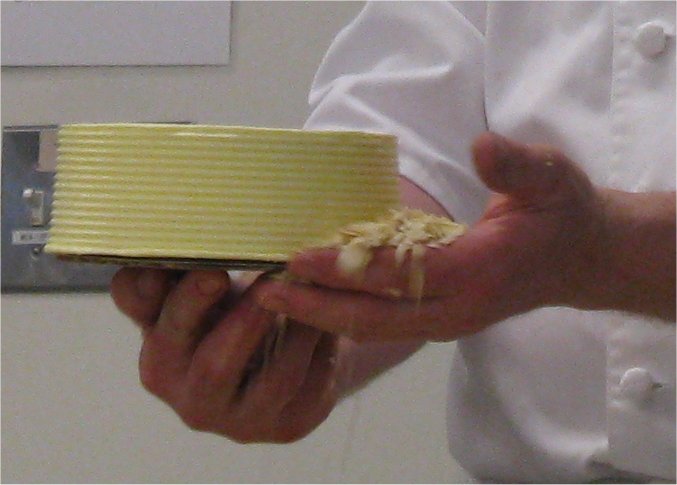
I did not master the combing but was quite pleased with my flowers. So was my bench-mate, apparently, as he made off with most of mine before I got to the decorating stage. Still, it looked ok even with no combing and only one flower. The almonds round the bottom helped (but they’re also there to hide the inevitable imperfections that iced cakes will have at the base).

Chocolate one looked ok too, and the ganache filling was divine.
